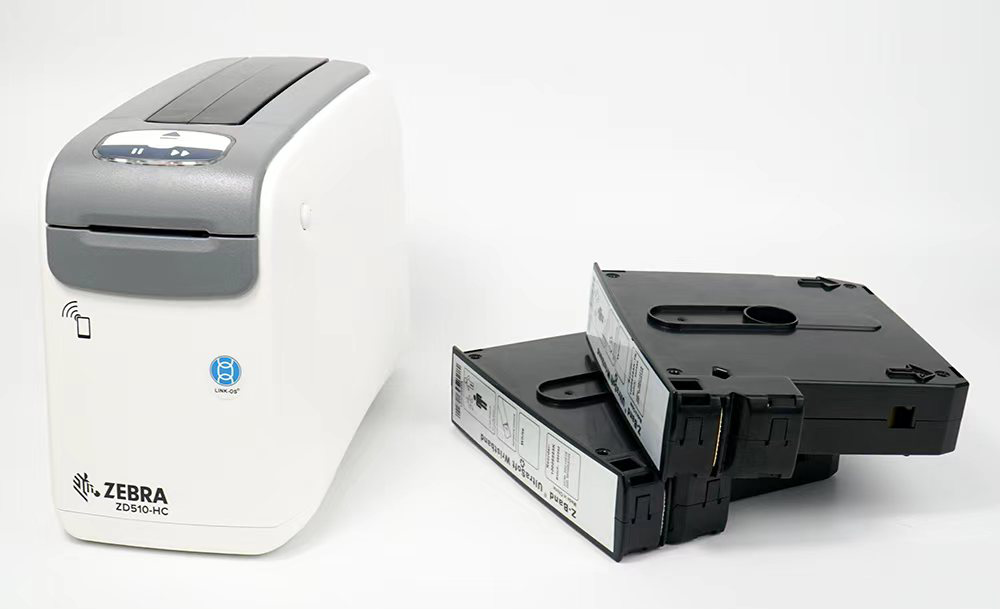

The Zebra ZD510-HC is widely regarded as one of the most reliable healthcare wristband printers on the market. Its sealed, disinfectant-ready housing and cartridge-based design make it ideal for hospitals, clinics, laboratories, and patient intake environments where accuracy and hygiene are essential. However, even the best printer requires correct loading, regular maintenance, and proper troubleshooting to ensure optimal performance.
This comprehensive guide explains, in detail, exactly how to load cartridges, maintain the printer, and resolve common issues—so your team can achieve maximum uptime and flawless wristband output.
Why Proper Handling of the ZD510-HC Matters
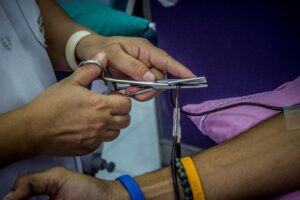
Healthcare workflows depend on error-free wristband printing. A poorly loaded cartridge or a dirty print head can result in:
- Unscannable barcodes
- Misidentified patients
- Medication errors
- Delays in admissions
- Reprints and wasted supplies
This guide helps prevent these disruptions by ensuring your ZD510-HC performs at peak accuracy 24/7.
A. Loading the ZD510-HC Cartridge Correctly
The ZD510-HC uses a closed wristband cartridge system rather than standard rolls. This makes installation simple—but only if done correctly.
Follow these steps:
Step 1: Power Off or Pause Printing
Although the ZD510-HC supports hot-swapping, pausing print activity prevents accidental misfeeds.
Step 2: Open the Printer Cover
Lift the top lid until it clicks and stays open.
Check for any old wristbands or debris around the loading area.
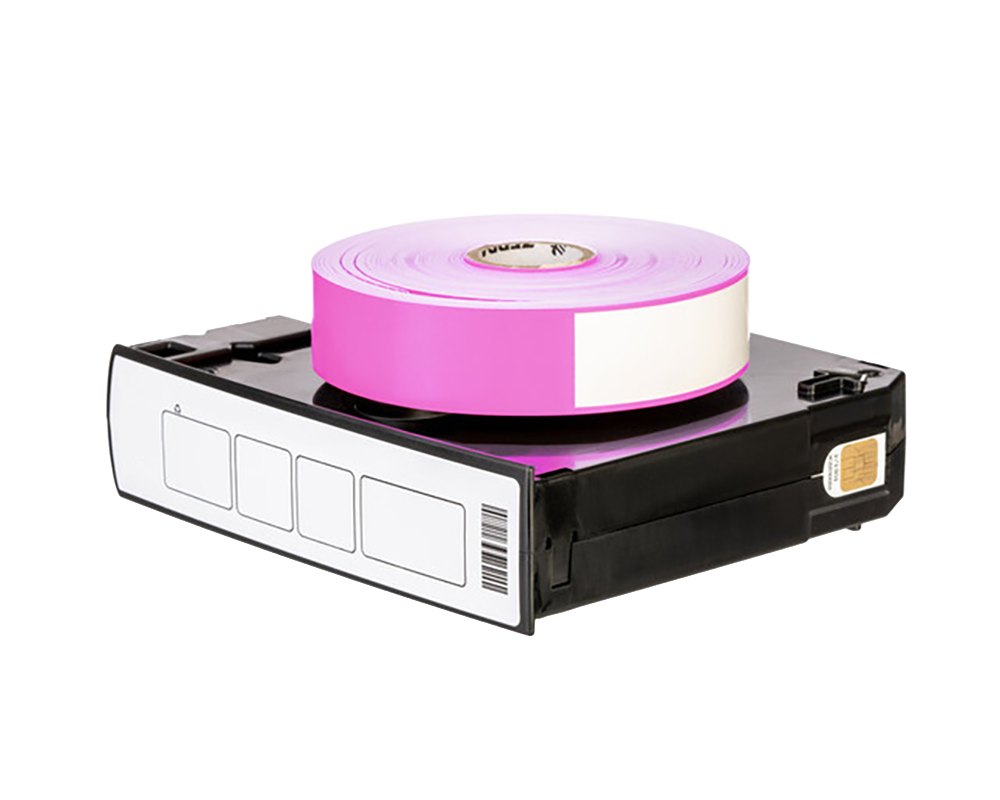
Step 3: Prepare the Cartridge
Each cartridge is color-coded and labeled by size (adult, pediatric, infant).
Before inserting:
- Inspect for cracks or damage
- Ensure the wristband is wound evenly
- Confirm it’s the correct size for your patient type
Step 4: Insert the Cartridge
Lower the cartridge directly into the bay.
Do not force it—Zebra cartridges drop into place smoothly.
You should hear a soft click when it locks in.
Step 5: Close the Cover
Lower the lid gently until it snaps shut.
Step 6: Automatic Calibration
The printer will:
- Detect the cartridge type
- Calibrate feeding
- Confirm compatibility
If the screen shows “Cartridge Loaded”, printing can start immediately.
B. Common Setup Mistakes (and How to Avoid Them)
Even experienced nurses and techs sometimes make small mistakes that lead to poor print quality or error messages.
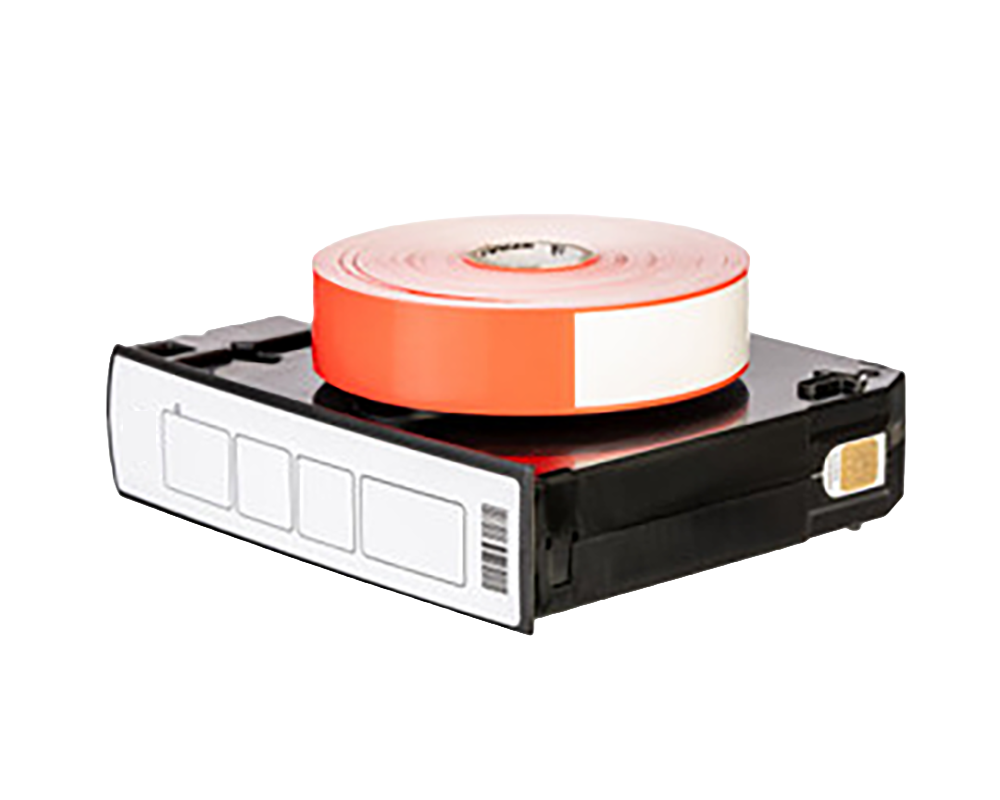
❌ Mistake 1: Using the wrong wristband size
Always match:
- Adult (largest)
- Pediatric (mid-size)
- Infant (softest and smallest)
Wrong size = wrong fit + scanning failures.
❌ Mistake 2: Not fully closing the top cover
If the lid isn’t locked:
- Printer won’t calibrate
- Cartridge may not be recognized
Always check for the distinct click.
❌ Mistake 3: Touching the print area
Fingerprints can cause adhesion issues and faded barcodes.
❌ Mistake 4: Using incompatible wristbands
Cheap or poorly manufactured cartridges may:
- Jam
- Not be recognized
- Print faint barcodes
Always choose fully compatible ZD510-HC wristbands.
C. Cleaning Procedures for the ZD510-HC
Cleaning is essential because hospitals use:
- Alcohol wipes
- Disinfectants
- Bleach-based cleaners
These can leave residue that affects print quality.
Cleaning Frequency
| Component | Frequency |
|---|---|
| Exterior Housing | Daily / after every shift |
| Media Path | Weekly |
| Printhead | Every 1–2 cartridges |
| Platen Roller | Weekly or as needed |
Cleaning Tools
Use only:
- Isopropyl alcohol (≥70%) wipes
- Lint-free cloth
- Zebra cleaning swabs
Never use abrasive cloths or industrial solvents.
Step-by-Step Cleaning
1. Turn off the printer
Safety first.
2. Clean the exterior
Wipe with approved hospital disinfectants.
3. Clean the printhead
Use a Zebra cleaning swab and wipe in one direction.
This removes:
- Adhesive buildup
- Dust
- Disinfectant residue
4. Clean the platen roller
Rotate manually while wiping.
5. Clean inside the media area
Remove loose particles that could affect feeding.
D. Troubleshooting: Fixing Common Print Issues
Even with proper setup, issues may arise. Most can be fixed quickly using the troubleshooting guide below.
Issue 1: Faded or Light Barcodes
Possible Causes
- Dirty printhead
- Low heat setting
- Poor-quality wristbands
- Incorrect cartridge type
How to Fix
- Clean the printhead
- Increase print darkness in settings
- Confirm the cartridge is genuine or compatible
- Recalibrate
Issue 2: “Cartridge Not Recognized”
Possible Causes
- Damaged RFID tag inside the cartridge
- Incompatible aftermarket cartridge
- Misaligned placement
- Software mismatch
How to Fix
- Reseat the cartridge
- Restart the Zebra ZD510-HC wristband printing system
- Update printer firmware
- Use a certified-compatible wristband cartridge
If error persists, replace the cartridge.
Issue 3: Poor Adhesion or Smudging
Causes
- Cheap hospital wristband materials
- Alcohol exposure
- Incorrect print temperature
Solutions
- Test higher heat level
- Switch to alcohol-resistant wristbands
- Store cartridges properly
Issue 4: Horizontal Lines or Missing Sections
This is a classic sign of a dirty printhead.
Fix
- Clean printhead thoroughly
- Check wristband surface quality
- Replace cartridge if bands are scratched or warped
Issue 5: Wristbands Not Feeding Correctly
Common Causes
- Incorrectly seated cartridge
- Debris in media path
- Worn platen roller
Fix
- Remove and reinstall cartridge
- Clean the media path
- Replace platen roller if old
E. When to Replace Wristbands (Best Practices)
Even unused wristbands have a shelf life.
Replace wristbands if:
- The adhesive no longer sticks
- Surface shows discoloration
- Edges are warped
- Barcode print appears grainy
- Alcohol wipes damage the coating
Hospitals should rotate wristband stock to ensure freshness.
6. Suggested Maintenance Schedule (Template)
Below is a recommended schedule for healthcare environments.
Your facility can expand this into a downloadable SOP.
Daily
- Clean exterior housing
- Ensure cartridge is properly seated
- Run a wristband test print
Weekly
- Clean media path
- Clean platen roller
- Inspect cartridges for damage
Every 1–2 Cartridges
- Clean printhead with alcohol swabs
Monthly
- Update firmware
- Review print quality logs
- Inspect for disinfectant residue buildup
Quarterly
- Full system inspection
- Replace worn rollers
- Verify compatibility of all cartridges
Conclusion: Keep Your ZD510-HC Running at Peak Performance
With proper loading, cleaning, and troubleshooting, the Zebra ZD510-HC delivers unmatched reliability and high-clarity wristband printing—crucial for patient safety and clinical efficiency. Using high-quality compatible wristbands and following this guide ensures your hospital or clinic avoids downtime, barcode failures, and unnecessary reprints.
Download Zebra ZD510-HC User Manual & Documentation
To help healthcare teams install, operate, and maintain the Zebra ZD510-HC more efficiently, we also provide access to official user manuals and technical documentation. These guides include printer setup instructions, cartridge loading procedures, cleaning recommendations, troubleshooting steps, calibration methods, and network configuration details.
Whether you are an IT administrator, hospital procurement manager, or clinical operator, downloading the latest ZD510-HC manual can help reduce downtime and improve printing performance.
👉 Download the Zebra ZD510-HC User Manual Here:
https://idprintcare.com/wp-content/uploads/2026/05/Zebra-zd510-hc-manual.pdf
https://www.zebra.com/us/en/support-downloads/printers/desktop/zd510-hc.html
For compatible wristband cartridges, maintenance tips, and bulk supply inquiries, feel free to contact the ID Print Care team anytime.